
For UK drivers, the annual MOT (Ministry of Transport) test can be a source of dread. It is more than just a bureaucratic hurdle; it is a vital check to ensure your vehicle meets road safety and environmental standards.
However, statistics show that nearly 30% of vehicles fail their MOT on the first attempt. The frustrating part? Many of these failures are due to simple, avoidable issues like a blown bulb or an empty screen wash bottle.
You don't need to be a mechanic to improve your chances of passing. By spending 15 minutes walking around your car with our MOT pre-test checklist, you can spot issues early, save money on re-test fees, and ensure your car is safe for the road.
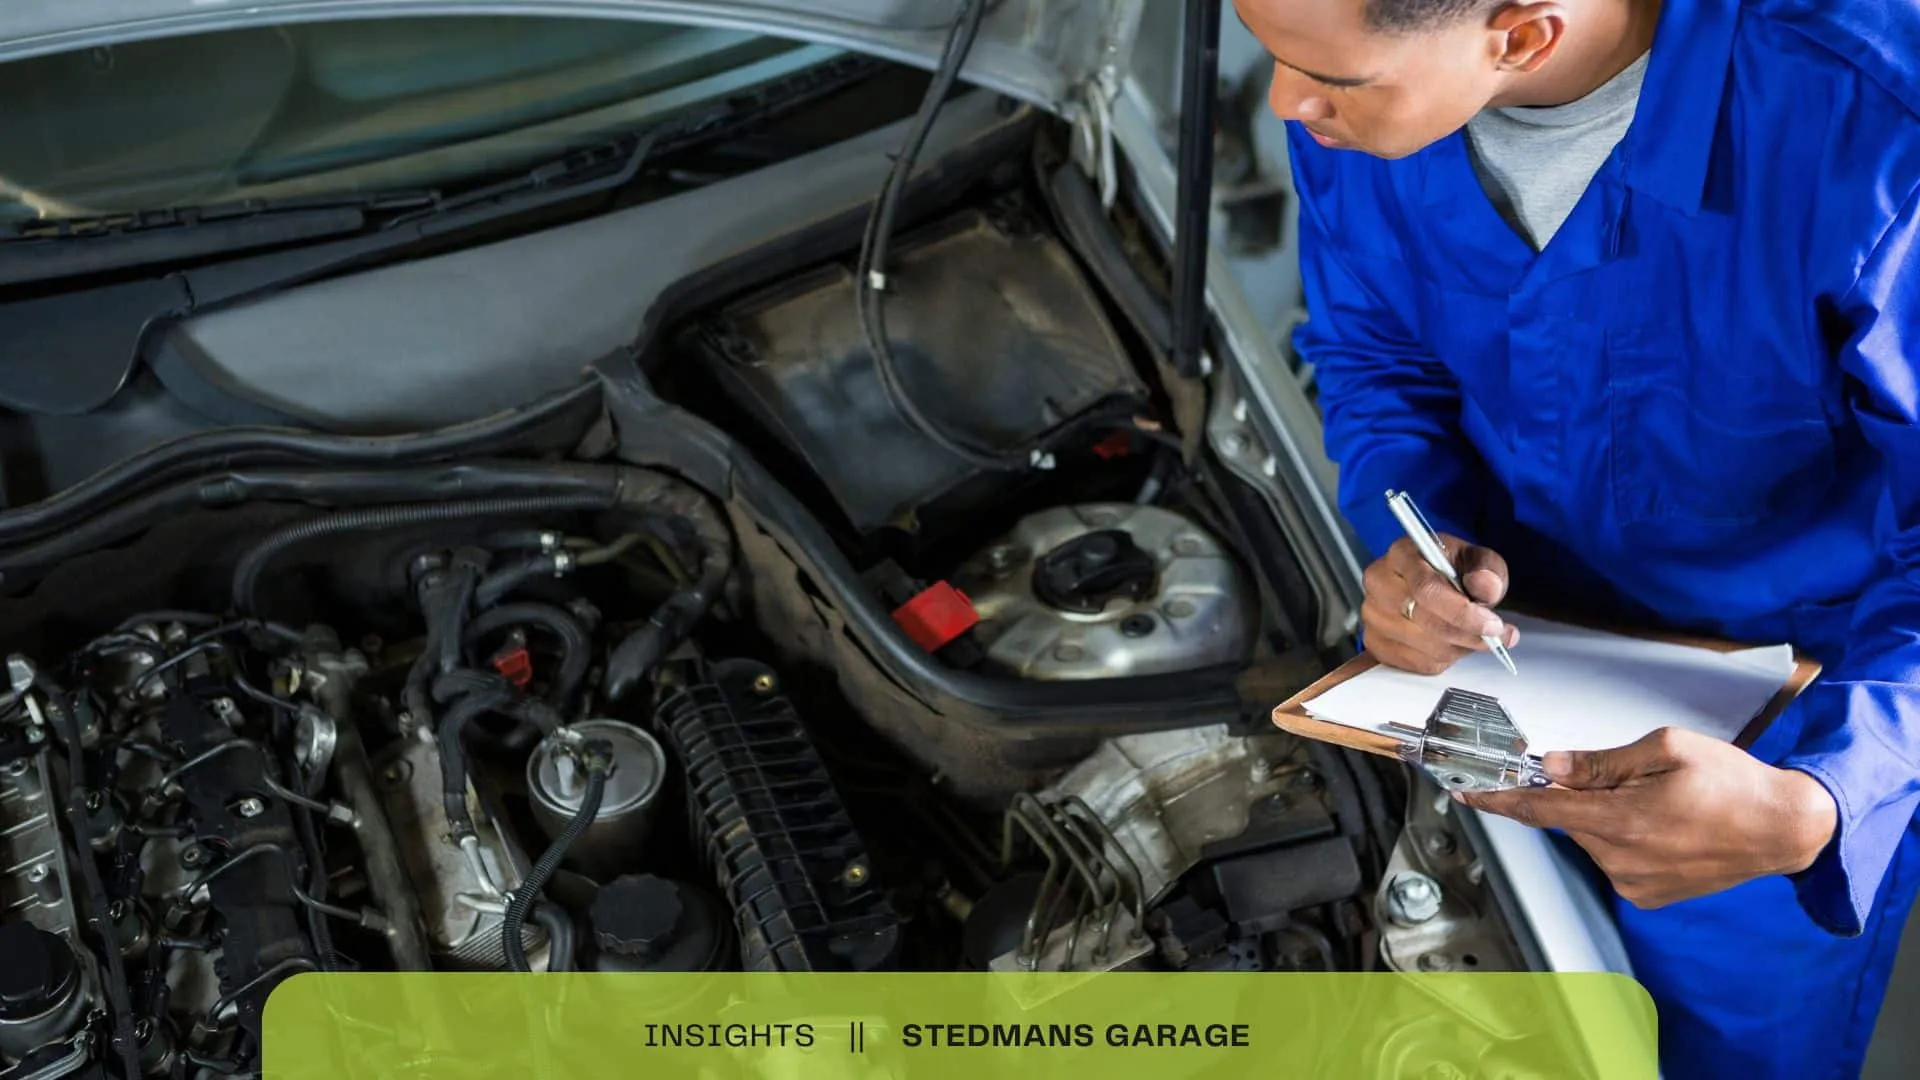
Here is your step-by-step guide to preparing your vehicle.
1. The "Silly" Fails (Exterior Checks)
These are the most common reasons for failure, yet they are the easiest to fix yourself.
- Lights: Ask a friend to walk around the car while you operate the controls. Check headlights (dipped and main beam), indicators (front, rear, and side repeaters), brake lights (including the high-level strip light), fog lights, and the number plate light.
- Registration Plates: Are your number plates clean and legible? A crack through a letter or a dirty plate can result in a fail.
- Mirrors: Your side mirrors and rear-view mirror must be secure and usable. If the glass is cracked or the housing is held on with tape, it needs replacing.
2. Visibility: Wipers and Windscreens
If the tester cannot see clearly, you cannot drive safely.
- Wiper Blades: Do they clear the screen effectively, or do they smear and squeak? If the rubber is split or perished, replace them immediately.
- Screen Wash: This is a classic "easy fail." Open the bonnet and top up your washer fluid. If the washers don't spray, you will fail.
- Windscreen Chips: Inspect the "swept area" (where the wipers move). A chip larger than 10mm in the driver’s line of sight (Zone A) will fail. Elsewhere on the screen, damage up to 40mm is usually acceptable.
3. Tyres and Wheels
Tyres are your only contact with the road. The MOT standards here are strict.
- Tread Depth: The legal minimum in the UK is 1.6mm across the central three-quarters of the tyre. A quick trick is the 20p Test: Insert a 20p coin into the tread grooves. If the outer band of the coin is obscured, your tread is likely legal. If you can see the band, your tyres are dangerous.
- Condition: Look for cuts, bulges, or lumps in the sidewall. These indicate internal structural damage and will result in an immediate fail.
- Pressures: While not a direct fail item, incorrect pressure can cause uneven wear (which is a fail). Check your pressures against the manufacturer's manual.
4. Inside the Cabin
Sit in the driver's seat and check the safety systems.
- Seatbelts: Pull every seatbelt (including the rear ones) sharply. They should lock under tension and retract smoothly. Check for any fraying or cuts in the webbing.
- Dashboard Warning Lights: Turn the ignition on. The warning lights should illuminate and then extinguish when the engine starts.
- Horn: Give it a quick blast. It must be loud enough to be heard by other road users.
5. Under the Bonnet (Fluids and Battery)
You don't need to take the engine apart, but you do need to check the basics.
- Brake Fluid: Check the reservoir (usually a clear tank). The fluid should be between the 'Min' and 'Max' lines. If it is below the minimum, you may have a leak or worn brake pads.
- Oil Level: A car with insufficient oil may be refused a test because the tester cannot safely run the emissions check.
- Battery Security: Give the battery a gentle nudge. It should be clamped down securely and not move. Loose batteries are a fire hazard and an MOT failure.
6. Brakes and Suspension
While you can't easily inspect these visually, you can "feel" and "hear" them while driving.
- Handbrake: Does the handbrake hold the car firmly on a hill? If the lever pulls up too high (too many clicks), it may need adjusting.
- Steering: Does the steering feel loose or "vague"? Does the car pull to one side on a straight road?
- Noises: Listen for clunks when going over bumps or grinding noises when braking. These suggest suspension or brake pad issues that a tester will definitely find.
7. Emissions and Exhaust
The emissions test is stricter than ever, especially for diesel vehicles.
- Noise: If your exhaust sounds louder than usual, you may have a hole or a leak.
- Smoke: Ask a friend to watch your exhaust while you rev the engine (when warm). Excessive blue or black smoke will lead to a failure.
- DPF (Diesel Particulate Filter): If you drive a modern diesel, ensure the DPF has not been tampered with. A missing or gutted DPF is a major failure.
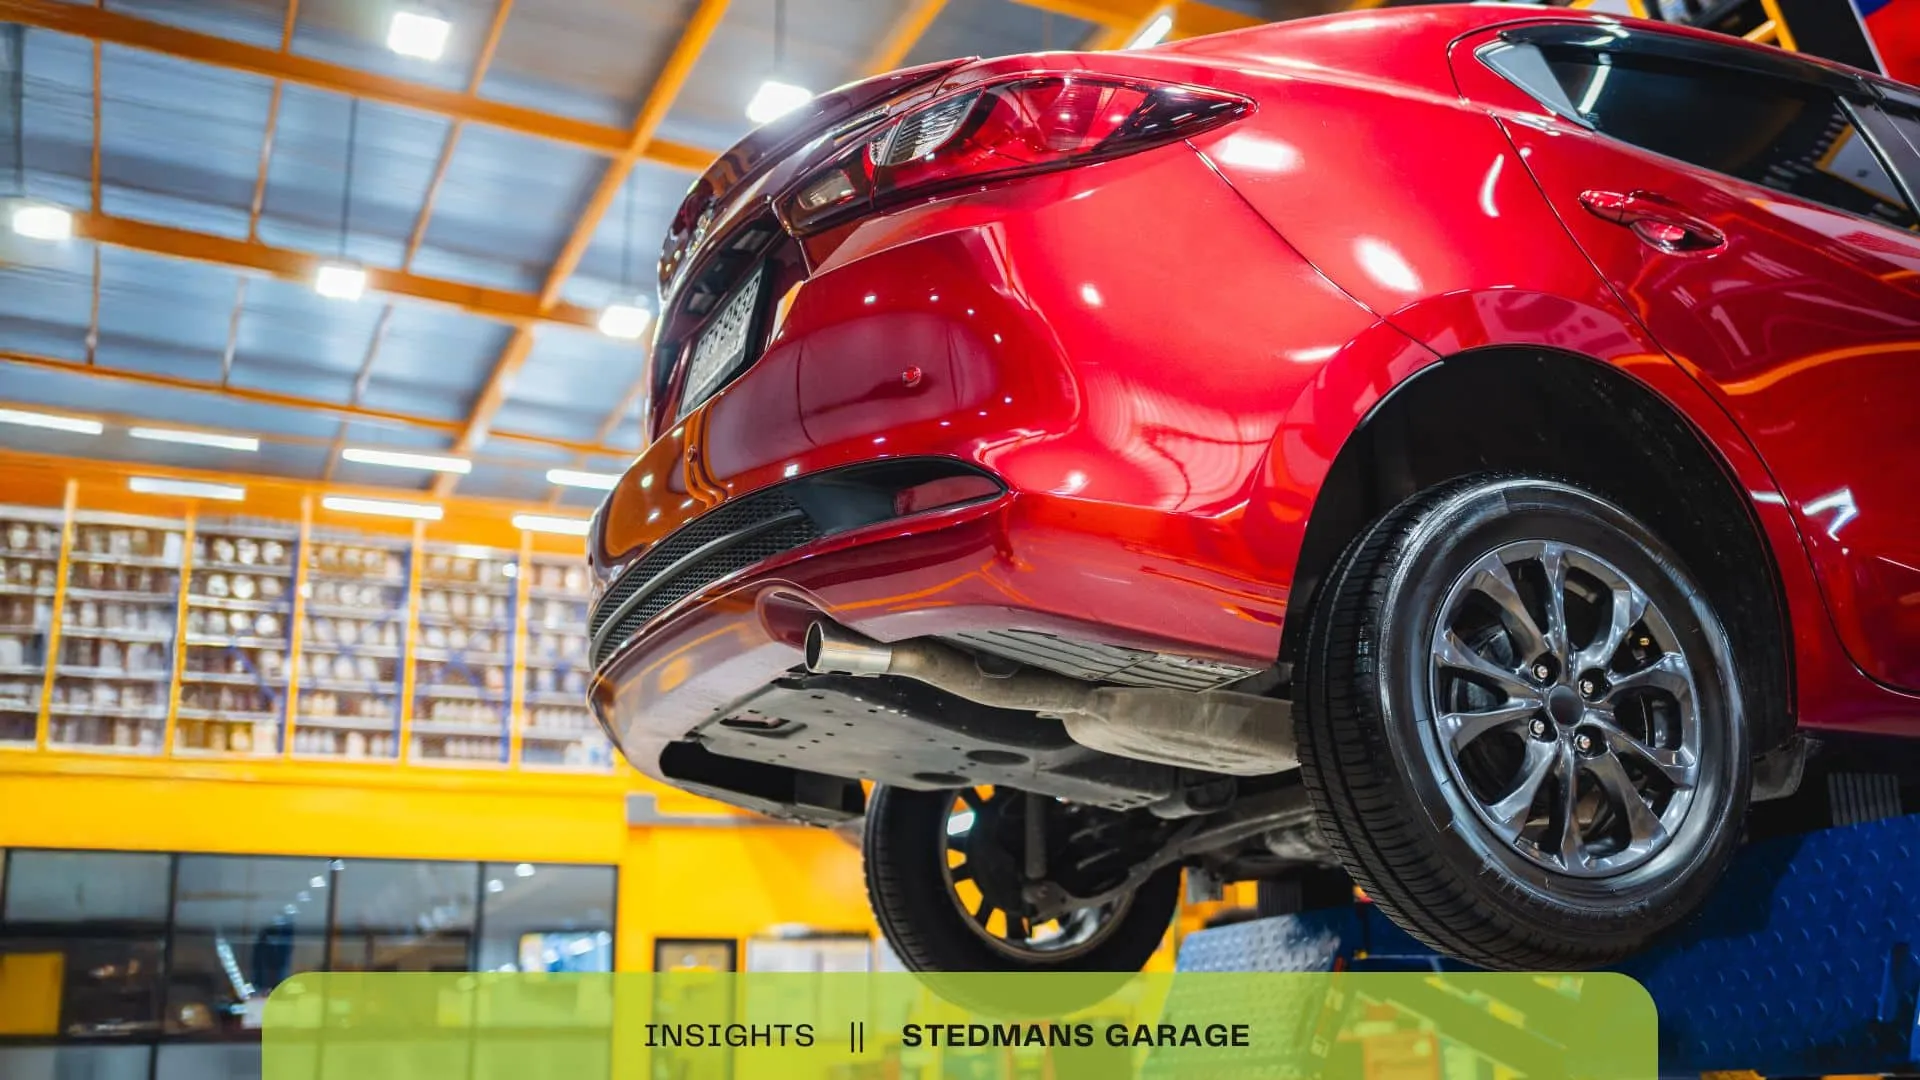
Exhaust and emissions defects are among the easier failures to catch in advance, because most of them make a noise first. Our guide to exhaust problems in Worthing covers what a blowing exhaust sounds like and what the tester checks.
Summary: Prevention is Cheaper than Cure
An MOT certificate confirms your vehicle is roadworthy at the time of the test, but regular maintenance keeps it that way year-round.
By using this MOT pre-test checklist, you can fix minor issues before they become a "Fail" on your vehicle's history.
Is your MOT due soon? Don't leave it to chance. Run through these checks today and book your appointment with confidence.
Related reading: MOT test and service